Classically Casual: Blackwing Lair

Where I talk about my casual adventures in WoW Classic. BWL released this month, so I’m gonna just chat about that and my transfer to DPS from tanking.
DPS Transition
Two weeks prior to BWL coming out at the end of January, there was a small window in which I was, possibly, being considered for tanking BWL. Sadly, that window was shattered when a tank returned from a limited hiatus and took up the position he had prior, Honestly, that’s only fair, and I would hate to have my position taken after being gone for some time, especially as a tank.
This meant that I had to re-gear, however, and that isn’t such a simple thing when you’d gone out of your way to getting raid and pre-raid best gear for tanking, and my damage numbers showed. I was lackluster, at best. I took a little while, and after a few lucky dungeon runs, I had upgraded much of the gear I needed. Spending a large chunk of my gold on purchasable gear and much needed enchants set me back as well, but I’ve been super lucky and had more than a few expensive BOE’s drop for me. This time, It was the Ace of Beasts, which made me a reasonable chunk of change.
Now, with new gear, and my buddy farming up for me that all-important + weapon Skill Miners Hat

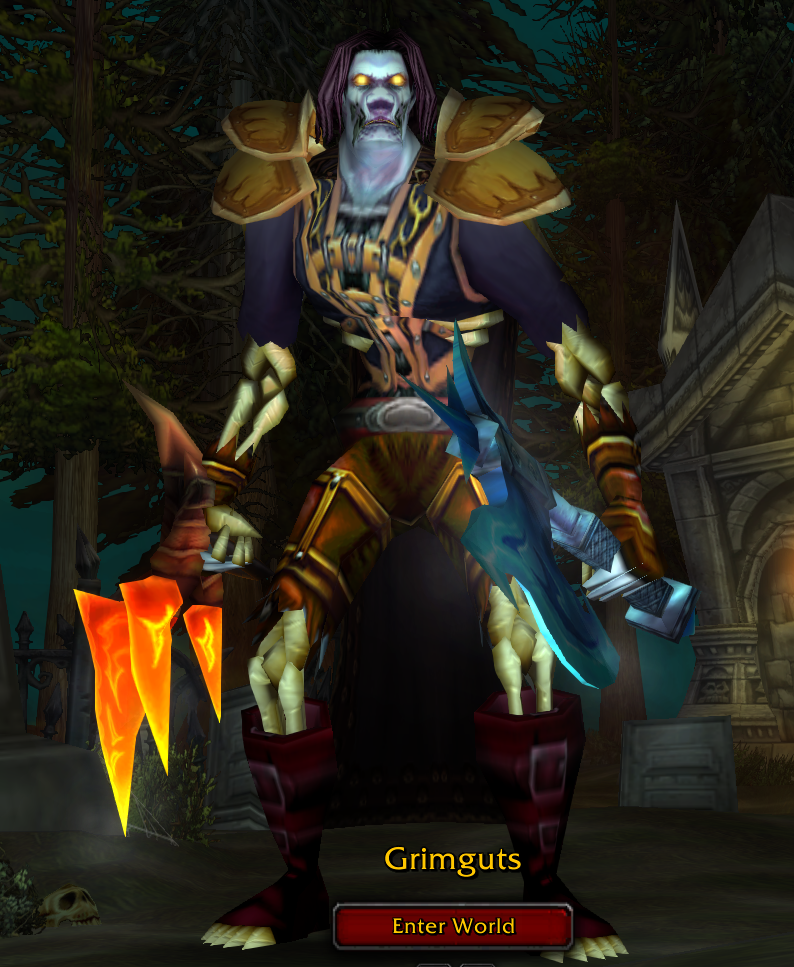
Thus geared, I was ready for the transition to DPS for BWL. It wasn’t pretty at first. I have had to relearn my positioning as well as my reasonable Risk factor. Tank gear has a lot more stamina on it than DPS gear, and I’ve been dying more than is really reasonable. I’ve been moving up the meters as I learn more about the role, and it’s been fun, if frustrating, transition as I simply love tanking and it’s why I picked up classic. ZG and AQ20 are, hopefully, gonna be a blast
Black Wing Lair
Starting on Wednesday the 13th, classic opened the famous BWL raid. This was something that, until that day, I had only heard legends about. Molten Core had been an achievable goal for me. I wanted to, and succeeded in, tanking Ragnaros with the other warriors. It was super great. BWL was on a different level.
I didn’t expect to be able to get in, but on the first day, we were there, pushing into the raid with 28 of us. I’d read all the strats, I’d grabbed all the DPS gear, and I was ready to punch some dragons. Who doesn’t like punching dragons!
Razorgore the Untamed
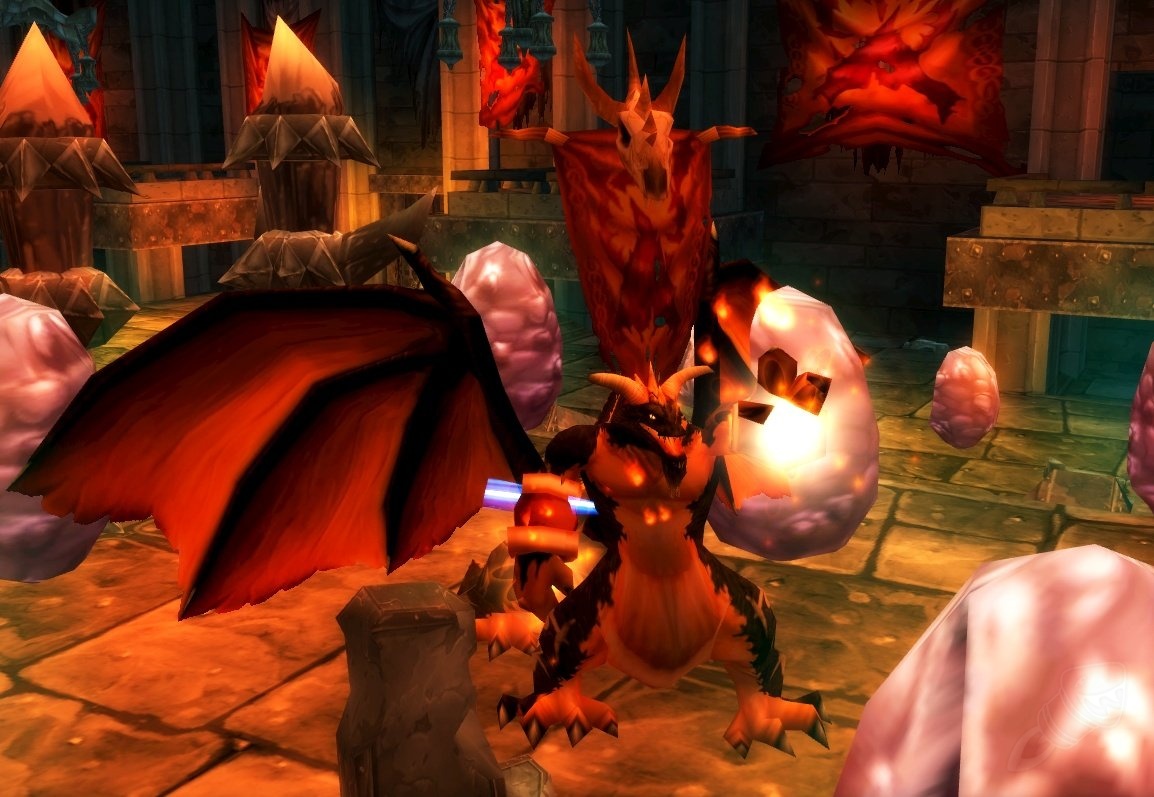
The first boss, Razorgore, took some doing to get right on the first night. The adds would overwhelm the north side, and we’d end up with simply too many to be able to finish the fight, as they would piling up the dead before we broke the last egg. Additionally, the mind control orb is tricky to hand over, which took a good few tires to coordinate. We put in a number of attempts but eventually got it right and were able to take him down. It was pure chaos and felt really sloppy. The next week, however, we came and simply pantsed him, dropping him in our first attempt. Both nights we were able to proceed to the legendary Vael, the Guild Breaker.
Vaelastrasz the Corrupt
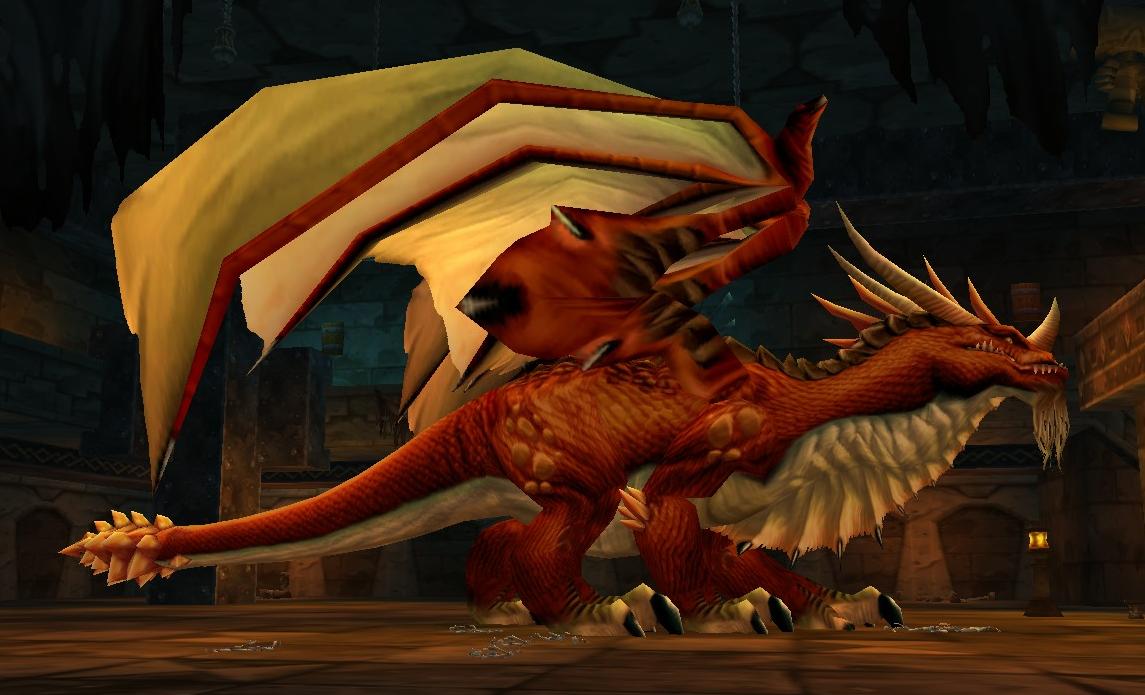
Vael was one of the bosses that had a legendary reputation, and though it had been 15 years, and the knowledge of the game and the abilities of the players had ramped up, I still expected some trouble. He did give us some, though it was very little. Our tank died on the first attempt, as we were so overconfident that he was convinced not to wear Fire resist gear, and one of the Burning Adrenaline’s wasn’t noticed and blew up the whole raid on the second attempt. The third attempt was the good one, and we were able to absolutely crush this boss, taking him down in less than 90 seconds – we never lost our second tank. Our second week, we marched on from Razorgore and were able to one-shot him, as well.
Broodlord Lashlayer
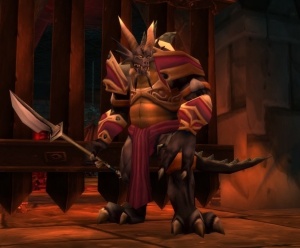
The Broodlord is a full-room boss and the once again legendary suppression Room was awesome to be in. It took a few pulls, a reset, and a long grind to figure out exactly what we needed to do based on old memories, private servers, and current experiences. We eventually settled on the far right side of the lower room, pulling the handlers to us and only moving forward into the room once all reasonable handlers were, well, Handled. That meant only a couple of handler pulls in the actual room and made it much simpler. That strategy led us easily into place for Broodlord, but it was getting on and we only had time for one pull. Unfortunately, the big guy was accidentally pulled, and though we were able to make it a decent way into the fight, there was no way we were going to recover from it. We all packed it in after the wipe and headed home for the week. This week, though, we were able to get him, too on the first pull. It was a bit more interesting than one would normally expect, though, as he knocked the tank up onto a ledge and evade bugged for a half-second, which healed him for 55% of his health, pulling him up from 30% to 85%. Amazingly, we were able to recover and STILL killed him. It was a glorious moment, and we were on to Firemaw.
Firemaw

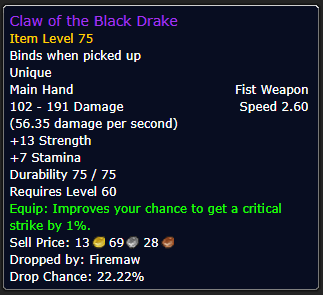
Most of the guides talk about the three drakes as being simple, but Firemaw here was giving a lot of people in the first week of release fits. While we didn’t get to him on our first run, our second we were able to. We had watched our sister raid on Saturday wipe a few times on him, so we had an idea what not to do. We accidentally pulled him the first time, and much like brood lord weren’t able to recover, even though we gave a good showing. The second, pull, the first with intent, and we were able to down him without much problem. It is a coordination fight, much like the rest of BWL. I was even able to get some loot from the boss, a huge DPS upgrade and a cool-as-hell, Claw of the Black Drake
Ebonroc

We cleared the trash on night one to make it to Ebonroc, the second drake and the first one with a really dangerous breath. We equipped our Onyxia Scale Cloaks and got two or three really solid tries into him. In the end, however, it wasn’t enough, and we left night 1 without Ebonroc loot. The second night, after taking down Ony and Rag, we had just under an hour to play with. We figured that we would be able to take down 1 or 2 of the drakes and call it an evening. All the trash cleared and despawned overnight, so we were able to get right to him. We took the Main Tanks original suggestion of where to tank him – against the wall instead of in the corner – and dropped Ebonroc on the first go, no sweat. The strategy was good, and we moved on to Flamegor, in the same spot.
Flamegor
Flamegor is like the other two drakes but has a frenzy that needs to be dispelled. This proved to be a large problem as we only had 2 hunters, and his frenzy does huge AoE damage and a fairly short cooldown. One of the hunters bit it early and we were unable to kill Flamegor on the first go-round, but with that, all cleared up, we were able to take Flamegor down without much fuss, and with almost half an hour left in the evening to take on Chromaggus
Chromaggus
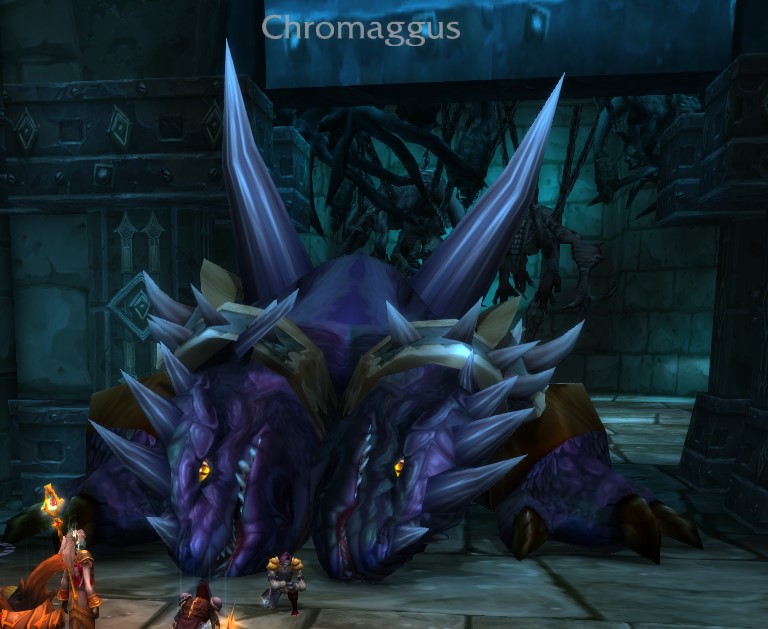
This big puppy took longer to explain than he did to actually fight. We thoroughly explained what would happen, how it would happen, and how to make sure we didn’t wipe. As long as we didn’t get the Bronze Breath, we would be on easy street. Our DPS was powerful enough and sustainable enough that we knew we could do it.
Unfortunately, and you know where this is going, we ended up with bronze breath, with the added sting of the Inferno breath on top of it. It was going to be a tough fight this week, but we were all ready, after the “discovery wipe” to give it another go.
The second pull was brilliant. We were able to work through the bronze breath rather easily, with all of us eating it and only the off-tank and a few healers avoiding it to hold on while we were all frozen in place. The inferno breath was easily dodged and we were able to, after a long and grueling fight that took out most of the raid, drop the big blue dog on our second attempt.
It was pretty exhilarating to get all the way to the final boss on only our second week, and with a fairly hard pair of breaths even.
Until next time!